
What Causes No Airflow From One Vent? Complete Troubleshooting Guide
What Causes No Airflow From One Vent? Complete Troubleshooting Guide
Have you noticed that one room in your home stays stuffy and uncomfortable while the rest of your house feels perfectly cool? You're not alone. When a single vent stops delivering air, it's more than just an annoyance—it's a sign that something in your HVAC system needs attention. The good news is that many single-vent airflow issues have simple fixes you can try before calling a professional.
In this guide, we'll walk you through the most common causes of no airflow from one vent, help you diagnose the problem, and show you what steps to take to restore proper air circulation throughout your home.
Understanding Your HVAC Ductwork System
Before we dive into specific problems, it helps to understand how your ductwork delivers conditioned air throughout your home. Your HVAC system pushes heated or cooled air through a network of ducts that branch out to different rooms. Each branch has a vent (also called a register) where air enters the room.
When one vent isn't getting airflow, the problem usually exists somewhere along that specific duct branch—not with your entire HVAC system. This is why your other vents might work perfectly fine while one vent produces little or no air.
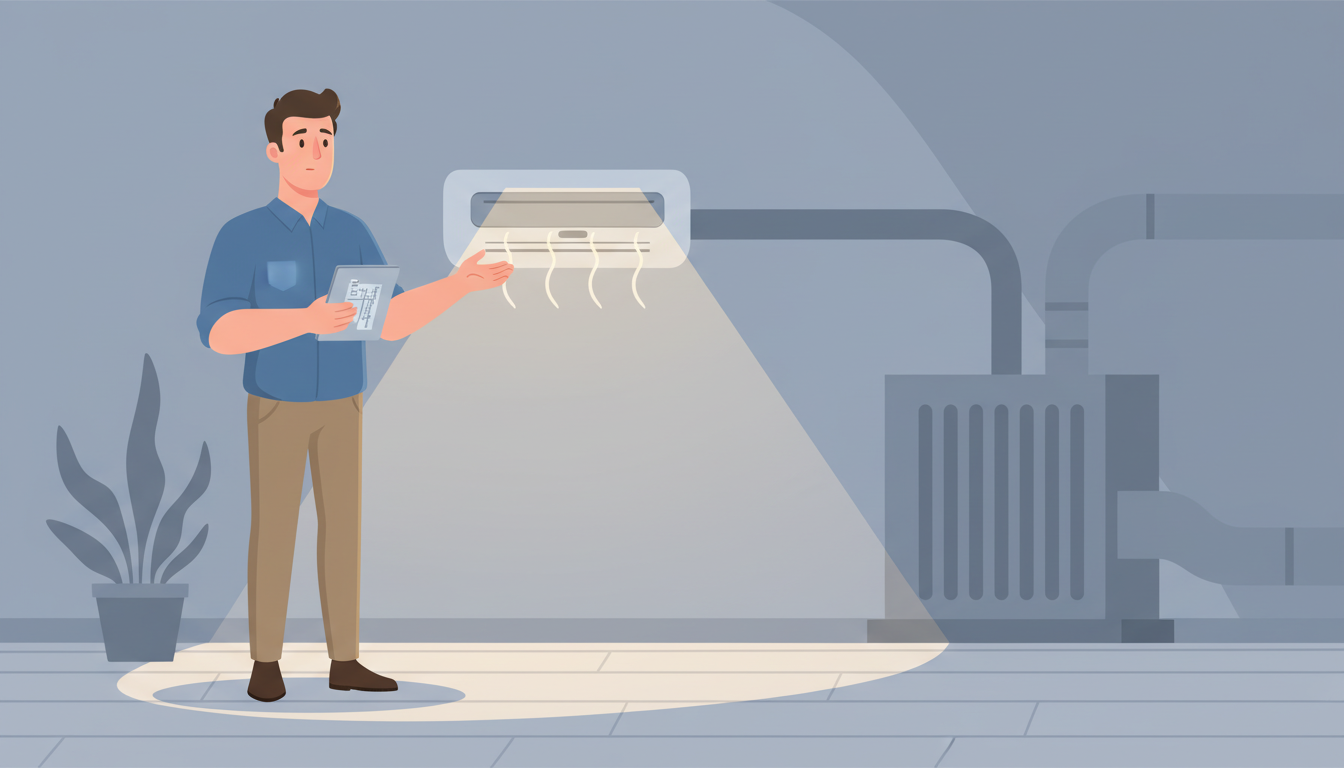
Top 7 Causes of No Airflow From a Single Vent
1. Closed or Blocked Damper
Dampers are metal valves inside your ductwork that control airflow to different areas of your home. Many HVAC systems have dampers installed so you can adjust which rooms get more or less air.
What happens: If someone closed a damper (intentionally or accidentally), no air can flow through that duct branch. Dampers can also get stuck in the closed position due to rust, debris, or mechanical failure.
How to check: Look for a small handle or lever on the duct near where it connects to your main trunk line (usually in your attic, basement, or crawl space). If the handle is perpendicular to the duct, the damper is closed. When parallel to the duct, it should be open.
The fix: Simply rotate the handle so it aligns with the duct direction. If the damper won't budge or you don't have attic access, you'll need an HVAC technician to free it or replace it.
2. Disconnected Ductwork
This is one of the most common culprits for zero airflow. Ducts are connected at joints with metal tape, mastic sealant, or sheet metal screws. Over time, these connections can fail—especially in unconditioned spaces like attics where temperature fluctuations cause expansion and contraction.
What happens: When a duct separates at a joint, all the air meant for your bedroom or living room escapes into your attic or crawl space instead. You'll get no airflow at the vent, and your energy bills will climb as your system works harder to compensate.
Signs to look for:
- The room never reaches the temperature set on your thermostat
- Other vents nearby work fine
- Sudden loss of airflow (it worked yesterday, but not today)
The fix: If you can safely access your ductwork, look for visible gaps or separations along the duct run. Reconnecting ducts requires proper sealing with mastic or metal tape—duct tape (the fabric kind) won't hold long-term. For hard-to-reach areas or extensive disconnections, professional HVAC repair services ensure the job is done safely and effectively.
3. Crushed or Kinked Flex Duct
Flexible ductwork is common in residential HVAC installations because it's easier to route through tight spaces. However, flex duct has a major weakness—it can be easily crushed, kinked, or compressed.
What happens: Someone might step on flex duct in your attic while doing other work. Insulation might be piled on top of it. Or it could be installed with too many bends, creating a severe restriction that blocks airflow.
Warning signs:
- Weak airflow that's gotten progressively worse
- The vent worked fine when you moved in but deteriorated over time
- Recent work done in your attic or crawl space
The fix: Flex duct needs to be fully extended and supported properly. If you can access your attic, trace the duct from the trunk line to the vent. Look for compressed sections, sharp bends, or areas where something heavy is sitting on the duct. Gently reshape kinked areas and remove any obstructions. Severely damaged flex duct should be replaced.
4. Leaky Ductwork
Unlike a complete disconnection, duct leaks allow some air to reach the vent—but not nearly as much as it should. The Department of Energy estimates that typical duct systems lose 20-30% of conditioned air through leaks and poor connections.
What happens: Small holes, gaps at joints, or deteriorated duct tape allow pressurized air to escape before it reaches your vent. The result is weak airflow that might feel like your vent is "barely working."
Common leak locations:
- Where ducts connect to the main trunk line
- At register boots (where ducts connect to vents)
- Holes punctured by pests or accidental damage
The fix: Accessible leaks can be sealed with mastic sealant or metal foil tape. For comprehensive leak sealing throughout your system, consider professional duct sealing using aerosol sealants that coat the inside of your ductwork from within. This addresses even the leaks you can't see or reach.
5. Obstructed Vent Register
Sometimes the simplest explanation is the right one. Before you start investigating your ductwork, make sure nothing is blocking the vent itself.
Common obstructions:
- Furniture pushed against wall vents
- Curtains or drapes covering vents
- Toys, paper, or other objects dropped into floor vents
- Closed or partially closed register louvers
The fix: Check that your vent register is fully open and clear of obstructions. For floor vents, remove the register cover and use a flashlight to check for objects blocking the duct opening. Many homeowners are surprised to find toys, coins, or other items that have accumulated in floor vents over the years.
6. Poor Duct Design or Undersized Ductwork
If a room has never had good airflow—not just recently, but since you moved in or since the system was installed—the problem might be in the original design.
What happens: Ducts that are too small for the room's needs, runs that are too long without proper sizing, or poorly designed layouts with too many bends can't deliver adequate airflow no matter how well your HVAC system is working.
Signs of design problems:
- The room has always been too hot or too cold
- Multiple rooms on the same duct branch all have weak airflow
- The issue persists despite trying all other fixes
The fix: Correcting duct design problems usually requires professional assessment and modification. An HVAC contractor can evaluate your duct sizing using Manual D calculations and recommend solutions like installing larger ducts, adding additional branches, or implementing zone control systems.
7. Debris or Contamination Inside Ducts
Over years of use, dust, insulation particles, construction debris, or even pest nests can accumulate inside ductwork and create blockages.
What happens: A gradual buildup restricts airflow over time. In extreme cases, rodent nests or collapsed insulation can completely block a duct run.
Warning signs:
- Gradually decreasing airflow over months or years
- Musty odors coming from the vent
- Evidence of pests in your attic or crawl space
The fix: Professional duct cleaning removes accumulated debris and improves airflow. If pest activity is present, address the pest problem first, then clean and sanitize the affected ductwork. Learn more about weak airflow causes and solutions in our related guide.
DIY Troubleshooting Steps You Can Try
Before calling for professional help, here's a systematic approach to diagnose your airflow problem:
Step 1: Check the obvious things
- Verify the register is fully open
- Remove any furniture or objects blocking the vent
- Make sure your HVAC system is actually running
Step 2: Compare with other vents
- Feel the airflow at nearby vents in other rooms
- If only one vent has an issue, the problem is in that specific duct branch
- If multiple vents are weak, you might have a broader system problem
Step 3: Inspect the vent opening
- Remove the register cover
- Use a flashlight to look into the duct
- Check for visible obstructions or disconnections
Step 4: Check accessible ductwork
- If you have safe attic or basement access, follow the duct visually
- Look for obvious disconnections, damage, or compression
- Check damper positions on all accessible branches
Step 5: Listen for air leaks
- With your system running, listen for hissing sounds near duct connections
- Feel for air escaping at joints and connections
- Mark any leak locations you find
If these steps don't identify an obvious problem, or if you find issues you can't safely access or repair, it's time to call a professional.
When to Call an HVAC Professional
Some airflow problems require specialized tools, knowledge, and safety equipment to diagnose and fix properly. Call a licensed HVAC contractor if:
- Your ductwork is in hard-to-reach areas (high attics, crawl spaces)
- You find disconnected ducts that need reconnecting
- Multiple vents throughout your home have poor airflow
- You suspect your system needs rebalancing
- There's evidence of pest infestation in your ducts
- You're uncomfortable working in confined spaces
- Your efforts haven't resolved the problem
Professional HVAC technicians have tools you don't have access to, including thermal imaging cameras that detect temperature differences indicating duct leaks, and manometers that measure static pressure to diagnose airflow restrictions.
How HVAC Pros Diagnose Single-Vent Airflow Issues
When you call a professional, here's what to expect during a diagnostic visit:
Visual inspection: The technician examines accessible ductwork, looking for obvious damage, disconnections, or installation problems.
Airflow measurement: Using an anemometer (airflow meter), they measure the actual cubic feet per minute (CFM) of air coming from each vent and compare it to design specifications.
Static pressure testing: They measure air pressure at different points in your duct system to identify restrictions and verify your blower is working properly.
Thermal imaging: Infrared cameras reveal temperature differences that indicate air leaks, missing insulation, or airflow problems invisible to the naked eye.
Camera inspection: For suspected blockages deep in ductwork, a snake camera can navigate through ducts to identify the problem.
Based on these diagnostics, they'll recommend targeted repairs rather than guessing at solutions.
Understanding Return Air and Airflow Balance
Here's something many homeowners don't realize: your HVAC system needs balanced return air to deliver proper airflow to every vent. The return air system pulls air back to your air handler for conditioning and recirculation.
Why it matters: If a room doesn't have adequate return air, positive pressure builds up and restricts the supply air coming from the vent. It's like trying to fill a sealed container—air can't come in if air can't go out.
Common return air issues:
- Closed doors blocking return air paths
- Insufficient return vents in bedrooms
- Undersized central return
- Missing transfer grilles or jump ducts
If improving return air access doesn't solve your problem, professional air balancing adjusts dampers throughout your system to ensure each room gets its proper share of conditioned air.
Preventing Future Airflow Problems
Once you've resolved your current issue, these preventive measures will help maintain proper airflow:
Regular maintenance:
- Change air filters every 1-3 months (dirty filters reduce overall system airflow)
- Schedule annual HVAC inspections to catch small problems early
- Keep vents clear of furniture and obstructions
Protect your ductwork:
- Avoid walking on flex ducts in your attic
- Be cautious during attic or crawl space projects
- Address pest problems promptly before they damage ducts
Monitor performance:
- Pay attention to temperature differences between rooms
- Note any changes in airflow strength
- Address minor issues before they become major problems
Consider upgrades:
- Zone control systems give you better room-by-room temperature control
- Smart thermostats help you monitor system performance
- Duct sealing and insulation improve efficiency and reduce future failures
Cost Considerations for Single-Vent Airflow Repairs
Understanding potential costs helps you make informed decisions:
DIY fixes: $0-$50
- Repositioning furniture or opening dampers: Free
- Sealing accessible leaks with mastic: $15-$30
- Replacing a vent register: $10-$50
Professional repairs: $150-$800+
- Diagnostic visit: $150-$300
- Reconnecting ducts: $200-$500
- Replacing damaged flex duct: $300-$800
- Duct sealing and minor repairs: $400-$1,000
Major renovations: $2,000-$5,000+
- Comprehensive duct system modification
- Adding new duct branches
- Zone control system installation
Most single-vent airflow issues fall into the simple-to-moderate repair category, making them relatively affordable fixes that significantly improve comfort.
FAQ About Single-Vent Airflow Problems
Q: Can a clogged air filter cause no airflow from one vent?
A: A clogged filter reduces airflow system-wide, so all vents would be affected, not just one. If only a single vent has no airflow, the problem is in that specific duct branch, not your filter. That said, changing your filter regularly (every 1-3 months) is essential for overall system health.
Q: Why does my vent work sometimes but not others?
A: Intermittent airflow suggests a flexible damper that moves with air pressure changes, a partially disconnected duct that only fully separates under certain conditions, or an object partially blocking airflow that shifts position. This warrants investigation before the problem becomes permanent.
Q: Is it bad to close vents in unused rooms to save energy?
A: Contrary to popular belief, closing vents doesn't save energy and can actually harm your HVAC system. Modern systems are designed to distribute a specific amount of air. Closing vents increases static pressure, making your blower work harder and potentially causing damage. If you want zone control, install a proper zoning system instead.
Q: How long does it take to fix a single vent with no airflow?
A: It depends on the cause. Simple fixes like opening a damper or clearing a blockage take minutes. Reconnecting or replacing ductwork might take 2-4 hours. Major duct modifications could take a full day or more.
Q: Can I just install a booster fan in the problem duct?
A: Duct booster fans are rarely the right solution. They don't address the underlying problem and can create pressure imbalances that cause other issues. Fix the root cause instead of masking symptoms.
Take Action to Restore Comfort
No airflow from a single vent doesn't have to mean uncomfortable living conditions or sky-high energy bills. By understanding the common causes—from disconnected ducts and crushed flex duct to closed dampers and obstructions—you're equipped to diagnose and potentially fix the problem yourself.
Start with the simple checks: verify your register is open, remove any obstructions, and inspect accessible ductwork. If those steps don't solve the issue, calling a professional HVAC technician ensures the problem gets properly diagnosed and fixed.
Don't let one problematic vent compromise your home comfort. Whether you tackle it yourself or bring in the experts, addressing airflow issues promptly prevents small problems from turning into expensive repairs and keeps every room in your home comfortable year-round.
Ready to get that stubborn vent working again? Start with the troubleshooting steps above, and you'll be on your way to better airflow and improved comfort throughout your home.