
What to Check After Replacing a Thermostat: Complete Verification Guide
What to Check After Replacing a Thermostat: Complete Verification Guide
You just finished installing your new thermostat, and now you're wondering if everything is working correctly. The truth is, even a perfectly wired thermostat can have issues if you don't verify a few critical settings and connections after installation.
This guide walks you through exactly what to check after replacing a thermostat to ensure your heating and cooling system runs smoothly. Whether you installed it yourself or had a professional do the work, these verification steps will save you from uncomfortable nights and costly service calls.
Check the Circuit Breaker and Power Supply First
Before you do anything else, verify that your HVAC system has power. During thermostat replacement, wires can accidentally short together, blowing the furnace fuse or tripping your circuit breaker.
Head to your electrical panel and check that the breaker labeled for your furnace or air handler is in the "on" position. If it tripped during installation, reset it by switching it fully off, then back on.
Next, check the power at your furnace or air handler. Look for a light switch near the unit (often mounted on the side of the furnace). Make sure it's in the "on" position. Many homeowners accidentally flip this switch and can't figure out why their new thermostat isn't working.
Test Voltage at the Thermostat
If you have a multimeter, you can verify that 24-volt power is reaching your thermostat. Set your multimeter to AC voltage, then touch the red probe to the R terminal and the black probe to the C terminal on your thermostat's wiring.
You should see a reading between 22 and 28 volts. If you get no reading, the problem is with your transformer or control board, not the thermostat itself. If you're uncomfortable with electrical testing, professional HVAC repair is always the safer choice.
Verify All Wiring Connections Are Secure
Loose wiring is the most common reason a new thermostat won't work properly. Even if the wires are connected to the correct terminals, they need to be firmly seated.
Remove your thermostat's faceplate and visually inspect each wire connection at the mounting plate. Gently tug on each wire—it shouldn't pull free with light pressure. If any wire comes loose, strip about 1/4 inch of insulation and reconnect it, making sure the bare wire is fully inserted into the terminal.
Common Wiring Mistakes to Check
Double-check these frequent installation errors:
- Reversed R and Rc wires: Some systems have separate transformers for heating and cooling. Make sure the R wire goes to the correct terminal.
- Missing or incorrect C wire: Smart thermostats need a C (common) wire for continuous power. If yours doesn't have one, you may need to install a C-wire adapter or your thermostat might be stealing power, causing erratic behavior.
- Forgotten jumper wire: If your old thermostat had a jumper between Rc and Rh, your new one might need it too (unless it has an internal jumper).
- Mixed up Y and G wires: The Y wire controls your air conditioner compressor, while G controls the blower fan. Swapping these will cause cooling problems.
If your thermostat keeps rebooting or randomly losing power, you likely have a C-wire issue or insufficient voltage.
Confirm Your System Type Settings
Most modern thermostats ask you to configure your HVAC system type during setup. Getting this wrong will prevent your system from operating correctly.
Access your thermostat's settings menu and verify these configuration options:
System Type: Choose between:
- Gas furnace with AC
- Electric furnace with AC
- Heat pump with auxiliary/emergency heat
- Boiler system
- Other specialty configurations
Number of Stages: Tell your thermostat if you have:
- Single-stage heating and cooling (most common)
- Two-stage heating and cooling (more efficient systems)
- Variable-speed equipment
Changeover Settings: Some systems need a specific changeover valve configuration. Check your installation manual to see if your heat pump requires O or B wire designation.
Getting these settings right ensures your system runs efficiently and responds correctly when you adjust the temperature.
Test Heating Mode Thoroughly
Now it's time to verify that your thermostat actually controls your heating system. Set your thermostat to heat mode and adjust the temperature at least 5 degrees above the current room temperature.
Within a few minutes, you should hear:
- A click from the thermostat (the relay engaging)
- Your furnace or heat pump starting up
- Warm air blowing from your vents
If nothing happens, check these common issues:
- Thermostat still in "off" or "cool" mode: Make sure you're actually in heating mode
- Fan set to "on" instead of "auto": This will blow air constantly without heating
- Blown furnace fuse: Check the fuse on your furnace control board
- Safety switches engaged: High-limit switches or flame sensors can prevent your furnace from running
Let your heating system run for at least 10 minutes. The air from your vents should feel noticeably warm, and your home should start heating up. If you feel cool air or no temperature change, you may have a wiring issue or system configuration problem.
Test Cooling Mode Completely
After verifying heat works, switch your thermostat to cooling mode. Set the temperature at least 5 degrees below the current room temperature.
Your air conditioning system should:
- Click at the thermostat
- Start the outdoor compressor unit within a few minutes
- Blow cool air through your vents
Go outside and listen to your condenser unit. You should hear the compressor running and feel warm air blowing from the top of the unit. If the condenser doesn't start, check that:
- You're definitely in cooling mode (not heat or off)
- The outdoor disconnect switch is on
- The condenser circuit breaker hasn't tripped
- The Y wire is properly connected
Some air conditioners have a 5-minute delay to protect the compressor. If your AC doesn't start immediately, wait a full 5 minutes before assuming there's a problem.
Verify Temperature Accuracy
Your new thermostat should read room temperature accurately. To test this, place a reliable digital thermometer about 3 feet away from your thermostat at the same height.
Wait 15 minutes for both devices to stabilize, then compare the readings. They should be within 1-2 degrees of each other. If your thermostat reads significantly different:
- Check that it's not in direct sunlight
- Make sure it's not near heat sources (lamps, appliances)
- Verify it's not in a drafty location
- Look for a calibration setting in your thermostat's advanced options
Most digital thermostats allow you to calibrate the temperature reading by +/- a few degrees if needed.
Test the Fan Control Independently
Your thermostat should be able to run your blower fan without heating or cooling. Switch your system to "off" mode, but change the fan setting from "auto" to "on."
Your blower should start running immediately, circulating air through your home without any heating or cooling. This confirms:
- The G wire is properly connected
- Your thermostat can control the blower independently
- The blower motor is functioning
After confirming the fan works, switch it back to "auto" mode. Leaving it on "on" continuously will increase your energy bills and put unnecessary wear on your blower motor.
Smart Thermostat Specific Checks
If you installed a smart thermostat, you have additional setup steps to verify:
WiFi Connection
Check that your thermostat successfully connected to your WiFi network. Go into the settings menu and look for WiFi or network status. If it shows "not connected," you may need to:
- Re-enter your WiFi password
- Move closer to your router during setup
- Check that your router isn't blocking the device
- Verify you're using 2.4GHz WiFi (many smart thermostats don't support 5GHz)
Mobile App Connection
Download your thermostat's mobile app and verify you can control your system remotely. Try adjusting the temperature from your phone—you should see the change reflected on the thermostat within a few seconds.
If the app can't find your thermostat, make sure you're logged into the same account you used during setup, and verify your thermostat is online.
Smart Features Activation
Enable and test any smart features you want to use:
- Geofencing: Set up location-based temperature adjustments
- Scheduling: Program different temperatures for different times
- Energy reports: Confirm the thermostat is tracking your usage
- Voice control: Link to Alexa, Google Home, or Apple HomeKit if supported
Don't assume these features work automatically—test each one to ensure proper functionality.
Check for Error Codes or Alerts
Many modern thermostats display error codes when something isn't configured correctly. Check your thermostat's display for:
- Flashing lights or symbols
- Error messages or codes
- Warning indicators
- Low battery alerts
If you see any alerts, consult your installation manual. Common error codes include:
- No C wire detected: Install a C-wire adapter or check your C-wire connection
- System mismatch: Your system type settings don't match your actual equipment
- Low voltage: Your transformer might be failing or connections are loose
- Filter alert: Just a reminder, not an actual problem with the installation
Some thermostats enter a "compatibility mode" if they detect wiring issues. While this might make things work temporarily, it's better to fix the underlying problem for reliable long-term operation.
Monitor System Cycling Behavior
After your thermostat replacement, pay attention to how often your HVAC system turns on and off. Normal cycling depends on outdoor temperature and insulation, but excessive cycling (short cycling) indicates a problem.
Your heating or cooling system should run for at least 10-15 minutes per cycle. If it's turning on and off every few minutes, check:
- Temperature differential settings (set to at least 1-2 degrees)
- System type configuration (wrong setting can cause rapid cycling)
- Heat anticipator setting (for older thermostats)
- Proper wire connections
Short cycling wastes energy, reduces comfort, and can damage your HVAC equipment over time. If adjusting thermostat settings doesn't help, you may need professional assistance to diagnose the issue.
Verify Multi-Stage Systems Properly Engage
If you have a two-stage furnace or air conditioner, your thermostat should operate both stages based on demand.
In mild weather, only stage one should run (quieter, more efficient). In extreme temperatures, stage two should kick in after stage one runs for a while.
You can verify this by:
- Setting a moderate temperature change (3 degrees) and listening for the system—it should run quietly on stage one
- Setting an extreme temperature change (10 degrees) and waiting—after several minutes, you should hear the system get louder as stage two engages
If both stages run immediately every time, your thermostat settings need adjustment. Check the "staging" or "cycle rate" settings in your advanced configuration menu.
What to Do If Your Thermostat Still Isn't Working
You've checked everything on this list, but your new thermostat still isn't working correctly. Before calling for help, try these last-resort troubleshooting steps:
Perform a factory reset: Most thermostats have a reset option in the settings menu. This clears any configuration errors and lets you start fresh.
Re-check the installation manual: Look for system-specific configuration notes you might have missed the first time through.
Verify compatibility: Double-check that your new thermostat is actually compatible with your HVAC system. Some older systems or specialty equipment won't work with certain smart thermostats.
Test the old thermostat: If you still have your old thermostat, temporarily reinstall it to see if the system works. If the old one works fine, the problem is with your new thermostat or its configuration.
If none of these steps solve your problem, it's time to call a professional. Some issues require specialized knowledge or tools that go beyond basic thermostat troubleshooting. When you're dealing with electrical systems and expensive HVAC equipment, professional help is worth the investment.
For comprehensive guidance on common HVAC problems, check out our HVAC repair guide for troubleshooting tips.
When Your Thermostat Works But Something Still Seems Off
Even if your thermostat powers on and appears to control your system, subtle issues can affect comfort and efficiency:
Temperature overshoot: If your home gets much warmer or cooler than your setpoint, adjust the anticipator setting or temperature differential.
Uneven heating or cooling: This usually indicates ductwork issues, not thermostat problems. But verify your fan is set to "auto" not "circulate," which can cause uneven temperatures.
Higher energy bills: A new thermostat shouldn't increase your bills. If costs go up, you might have:
- Fan accidentally set to "on" instead of "auto"
- Scheduling conflicts causing unnecessary runtime
- System configuration causing inefficient operation
Delayed response: Smart thermostats sometimes take a moment to process commands. If there's more than a 10-second delay between pressing a button and seeing a response, check your WiFi connection or consider a factory reset.
Most of these issues have simple fixes in your thermostat settings. Spend some time learning your new thermostat's interface—modern models have many features that can improve comfort and save energy once properly configured.
FAQ: Common Questions After Replacing a Thermostat
How long should I wait to see if my new thermostat works?
Give your system at least 5-10 minutes after making a temperature change. Many HVAC systems have built-in delays to protect the compressor. If nothing happens after 10 minutes, there's likely a problem with wiring, power, or configuration.
Why does my new thermostat display show "no power" or keep going blank?
This almost always means you're missing a C (common) wire or it's not connected properly. Smart thermostats need continuous 24-volt power. Check if your C wire is connected at both the thermostat and the furnace control board. If your system doesn't have a C wire, you'll need to install a C-wire adapter.
Can a thermostat installation damage my HVAC system?
Yes, but it's rare. The most common issue is accidentally shorting wires together during installation, which can blow the transformer fuse. This is an easy fix—just replace the fuse on your furnace control board. More serious damage only occurs if you severely mis-wire the system or repeatedly short high-voltage wires.
Should I hear a click when my thermostat calls for heat or cooling?
Yes, most thermostats make an audible click when the relay switches on. This is normal and indicates the thermostat is sending a signal to your HVAC system. If you hear the click but nothing happens, the problem is downstream from the thermostat—likely at the furnace or air handler.
My old thermostat worked fine, but the new one doesn't. What went wrong?
The most likely culprits are incorrect system configuration settings or a missing C wire. Older mechanical thermostats don't need a C wire, but modern digital and smart thermostats do. Also verify you selected the correct system type during setup—choosing "heat pump" when you have a furnace (or vice versa) will prevent proper operation.
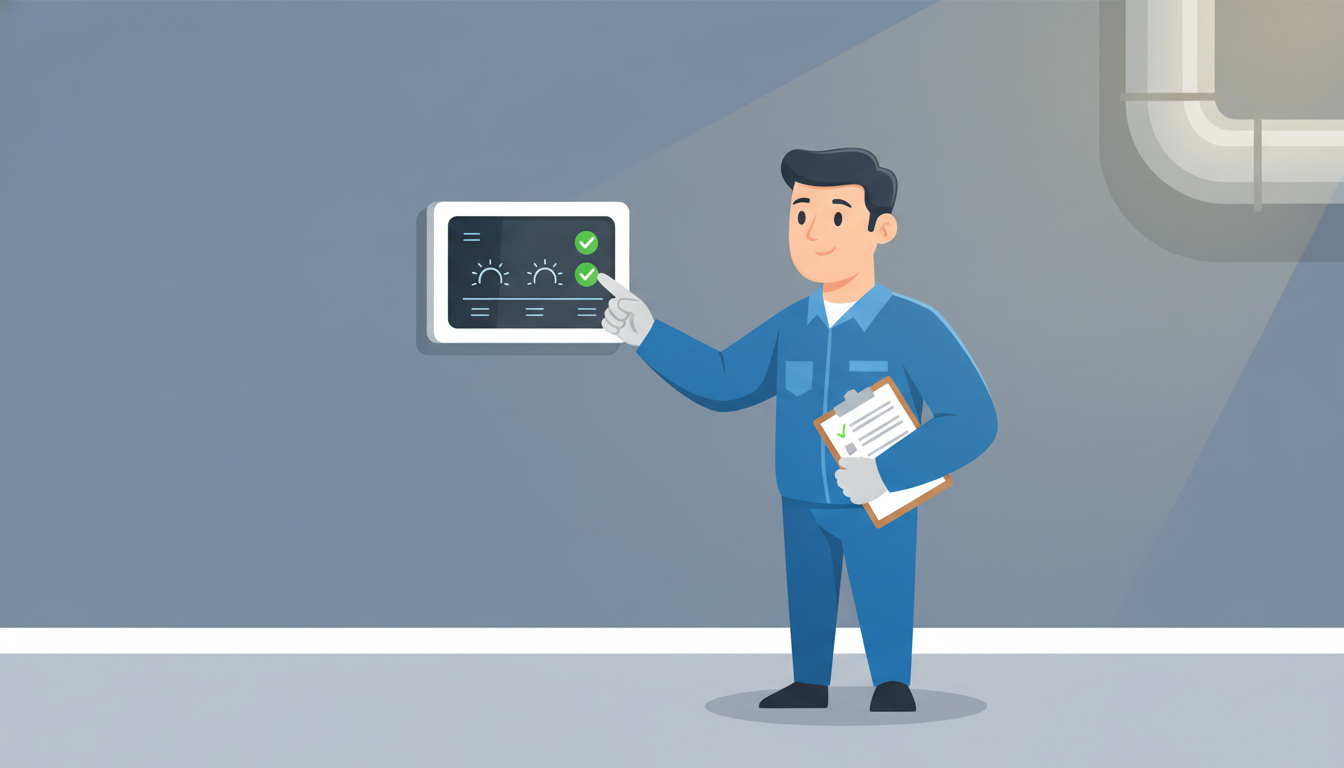
Final Checklist: What to Verify After Thermostat Replacement
Before you consider your thermostat installation complete, run through this final verification checklist:
- ✓ Circuit breaker is on and hasn't tripped
- ✓ All wires are securely connected to the correct terminals
- ✓ System type is configured correctly (furnace, heat pump, etc.)
- ✓ Heating mode turns on and produces warm air
- ✓ Cooling mode turns on and produces cold air
- ✓ Fan runs independently when set to "on"
- ✓ Temperature reading is accurate (within 1-2 degrees)
- ✓ No error codes or warning lights displayed
- ✓ WiFi and mobile app connected (for smart thermostats)
- ✓ System cycles normally without short cycling
- ✓ Multi-stage equipment engages both stages when needed
If you can check off every item on this list, congratulations—your thermostat replacement was successful! Your heating and cooling system should now operate reliably and efficiently.
Conclusion: Proper Verification Prevents Problems
Taking the time to check these critical items after replacing a thermostat saves you from future headaches. A thermostat that appears to work might have subtle configuration issues that reduce efficiency, increase wear on your equipment, or leave you uncomfortable when you need heating or cooling most.
Most thermostat problems after installation come down to three issues: incorrect wiring, missing C-wire power, or wrong system configuration. By methodically checking each component, you can identify and fix these issues before they cause bigger problems.
If you've verified everything on this list and your system still isn't working properly, don't hesitate to call a professional HVAC technician. Some problems require diagnostic equipment and expertise that go beyond basic troubleshooting. When you need expert help, our team is ready to diagnose and fix any thermostat issues quickly and correctly.
Your new thermostat is a key component in your home's comfort system. Taking a few extra minutes to verify proper installation ensures years of reliable temperature control and energy-efficient operation.