
What Causes a Condenser Coil Problem? 7 Common Culprits
What Causes a Condenser Coil Problem? 7 Common Culprits
Is your air conditioner struggling to keep your home cool? Before you panic about a complete system replacement, the problem might be simpler than you think. Your condenser coil could be the culprit behind your AC woes, and understanding what causes these problems can save you hundreds—even thousands—of dollars in unnecessary repairs.
The condenser coil is the hardworking component in your outdoor AC unit that releases heat from your home into the outside air. When it fails to do its job properly, your entire HVAC system suffers. Let's explore the seven most common causes of condenser coil problems and what you can do about them.
What Is a Condenser Coil and Why Does It Matter?
Your air conditioning system works by moving heat from inside your home to the outdoors. The condenser coil, located in the outdoor unit, is where this heat exchange happens. Hot refrigerant gas flows through the coil, releasing heat as it transforms into a liquid. This process is essential for cooling your home effectively.
When your condenser coil develops problems, the entire cooling cycle breaks down. Your AC has to work harder, your energy bills skyrocket, and you're left sweating in discomfort. Understanding what damages these vital components helps you prevent costly breakdowns and extend your system's lifespan.
1. Dirt and Debris Accumulation
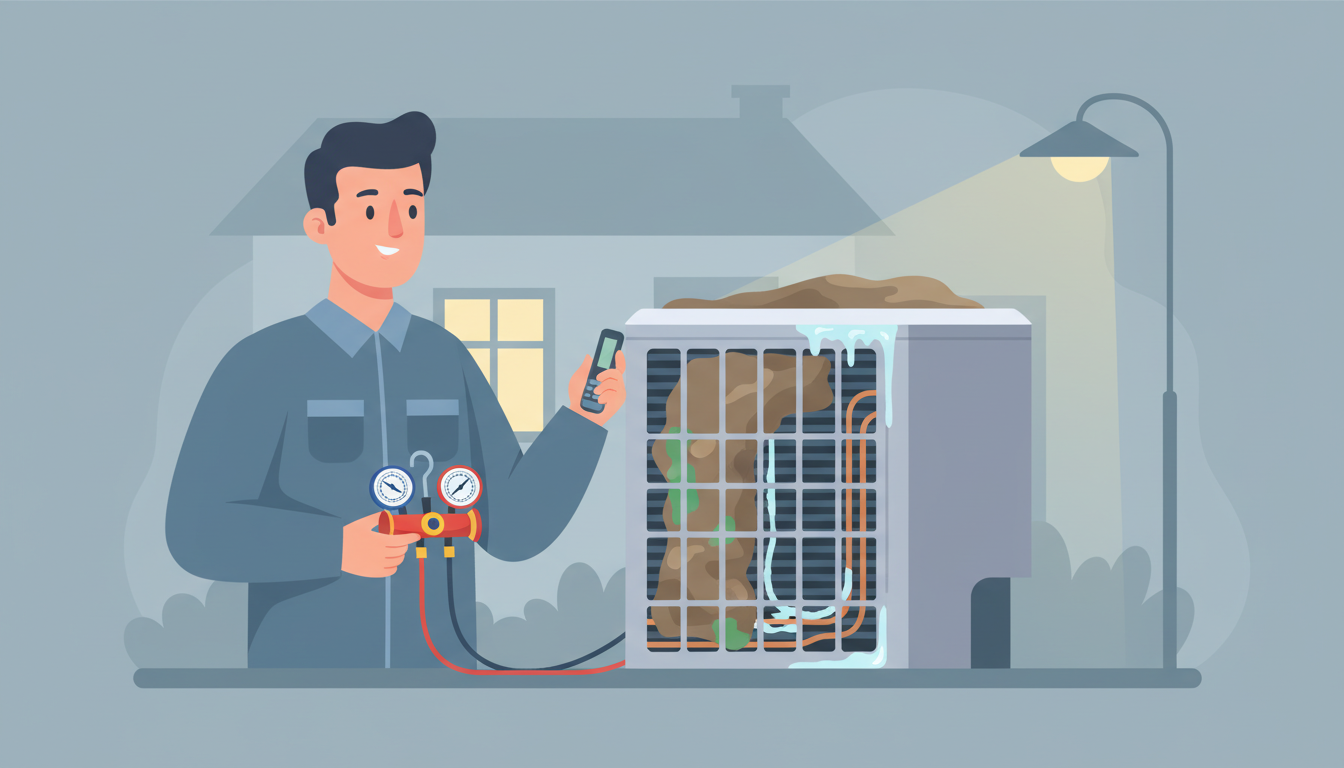
The #1 cause of condenser coil problems is simple neglect. Your outdoor unit sits exposed to the elements year-round, collecting dirt, dust, pollen, grass clippings, leaves, and other debris. Over time, this buildup forms a barrier that prevents proper airflow through the coil.
How Dirt Damages Your Condenser Coil
When dirt coats your condenser coil, it acts like a blanket, trapping heat inside instead of allowing it to dissipate into the air. This forces your AC to work overtime, raising internal temperatures and putting excessive strain on the compressor. The result? Reduced cooling capacity, higher energy consumption, and accelerated wear on your entire system.
Studies show that a dirty condenser coil can reduce your system's efficiency by up to 30%. That translates directly into higher utility bills every month you let the problem continue.
Prevention Tips
- Clear debris from around your outdoor unit regularly (maintain at least 2 feet of clearance)
- Rinse the coil gently with a garden hose from the inside out quarterly during cooling season
- Schedule professional coil cleaning annually as part of routine HVAC maintenance
- Trim back vegetation that could drop leaves or seeds onto the unit
- Consider installing a protective cover during off-season months (but never while the system is running)
For comprehensive maintenance guidance, check out our complete HVAC repair guide.
2. Physical Damage to Coil Fins
The aluminum fins on your condenser coil are delicate by design. These thin metal slats maximize surface area for heat transfer, but they're vulnerable to damage from:
- Lawn mowers shooting rocks or debris
- Hail and severe weather
- Pets or animals rubbing against the unit
- Improper cleaning techniques using excessive water pressure
- Children playing near the outdoor unit
- Falling branches or yard equipment
Why Bent Fins Matter
Even minor fin damage disrupts airflow patterns through the coil. Bent fins create dead zones where heat can't escape efficiently, forcing your system to compensate by running longer cycles. Severely damaged fins can block airflow entirely in affected sections, creating hot spots that accelerate refrigerant breakdown and compressor failure.
Solutions for Damaged Fins
If you catch fin damage early, a professional HVAC technician can use a fin comb to straighten bent fins and restore proper airflow. This simple fix costs far less than replacing the entire coil. However, extensive damage from severe weather or accidents may require coil replacement.
3. Corrosion and Rust
Over time, exposure to moisture, chemicals, and environmental pollutants causes condenser coils to corrode. This problem accelerates in certain conditions:
- Coastal areas where salt air attacks metal surfaces
- Industrial zones with chemical pollutants in the air
- Areas with acid rain or high humidity
- Locations near pools where chlorine vapors contact the coil
- Regions with hard water that leaves mineral deposits
The Corrosion Process
Corrosion starts as small pits in the coil's copper tubing or aluminum fins. As it progresses, these pits deepen, eventually creating leaks in the refrigerant lines. Once corrosion penetrates the tubing, refrigerant escapes, and moisture or air can enter the sealed system—both scenarios lead to system failure.
Protection Strategies
Modern condenser coils often come with protective coatings designed to resist corrosion. If you live in a high-risk area, consider:
- Choosing coils with epoxy or polymer-based protective coatings when replacing units
- Installing the outdoor unit in a sheltered location when possible
- Applying anti-corrosion treatments as recommended by your HVAC professional
- Rinsing the coil regularly to remove corrosive substances before they cause damage
Understanding these protection methods becomes especially important if you're dealing with central AC repair in challenging environmental conditions.
4. Refrigerant Leaks
Refrigerant leaks represent one of the most serious condenser coil problems. Unlike dirt accumulation, which you can clean, refrigerant leaks require professional repair and often indicate deeper issues with the coil's integrity.
Common Leak Causes
- Corrosion creating holes in copper tubing
- Vibration stress from an improperly mounted unit
- Manufacturing defects in coil joints or welds
- Physical damage from impacts or accidents
- Age-related deterioration of seals and connections
Warning Signs of Refrigerant Leaks
Watch for these telltale symptoms:
- Hissing or bubbling sounds near the outdoor unit
- Oily residue on or around the condenser coil
- Ice formation on refrigerant lines or the coil itself
- Dramatically reduced cooling performance despite the system running
- The AC runs constantly but never reaches the set temperature
If you notice any of these signs, shut off your system immediately and call an HVAC professional. Running an AC with low refrigerant damages the compressor and can lead to complete system failure.
Why DIY Refrigerant Work Is Illegal
Federal law requires EPA certification to handle refrigerants due to environmental regulations. Attempting DIY refrigerant repairs isn't just dangerous—it's illegal and can result in fines up to $37,500 per violation. Always hire a licensed professional for refrigerant-related issues.
5. Lack of Regular Maintenance
Many condenser coil problems stem from simple neglect. Your AC system isn't a "set it and forget it" appliance—it requires regular attention to function efficiently and last its expected 15-20 year lifespan.
What Happens Without Maintenance
When you skip routine maintenance:
- Dirt accumulates unnoticed until it severely restricts airflow
- Small problems go undetected until they cause major failures
- Efficiency gradually declines, raising energy costs without obvious cause
- Warranty coverage may become void (many manufacturers require proof of annual maintenance)
- System lifespan shortens by 5-10 years on average
Recommended Maintenance Schedule
Homeowner responsibilities (monthly during cooling season):
- Check and change air filters
- Clear debris from around the outdoor unit
- Inspect for obvious damage or unusual sounds
Professional maintenance (annually, ideally in spring before cooling season):
- Deep cleaning of condenser and evaporator coils
- Refrigerant level check and adjustment
- Electrical connection inspection and tightening
- Thermostat calibration
- Condensate drain cleaning
- Airflow measurement and optimization
This preventive approach costs a fraction of emergency repairs and dramatically reduces the likelihood of unexpected breakdowns during the hottest days of summer.
6. Blocked or Restricted Airflow
Your condenser coil needs constant airflow to function properly. When airflow becomes restricted, heat cannot dissipate efficiently, causing a cascade of problems throughout your HVAC system.
Common Airflow Restrictions
- Overgrown landscaping blocking the unit on multiple sides
- Fences or structures installed too close to the outdoor unit
- Accumulated debris inside the unit blocking the fan
- Condenser fan failure preventing air circulation
- Improper installation in enclosed spaces without adequate ventilation
- Snow or ice buildup during winter months (in heat pump systems)
The Airflow Requirements
HVAC manufacturers typically recommend maintaining at least 2-3 feet of clearance around all sides of your outdoor unit. The top should have at least 5 feet of clearance to prevent airflow recirculation, where hot exhaust air gets pulled back into the unit.
When these clearances aren't maintained, your condenser coil can't reject heat effectively. System pressures rise, the compressor works harder, and internal temperatures climb to damaging levels.
Quick Airflow Test
Stand near your outdoor unit while it's running. You should feel strong, warm air being blown away from the unit. If the airflow feels weak or you notice cool air being pulled in from unusual directions, you likely have an airflow restriction that needs addressing.
Similar airflow issues can contribute to hard start problems in air conditioners, making proper ventilation crucial for system reliability.
7. Age and Normal Wear
Even with perfect maintenance, condenser coils don't last forever. Normal wear and tear eventually takes its toll, especially on systems that have provided faithful service for 15+ years.
How Age Affects Condenser Coils
As your AC system ages:
- Metal fatigue weakens coil structures
- Protective coatings deteriorate, exposing metal to corrosion
- Microscopic cracks develop in refrigerant tubing
- Joints and welds become more susceptible to leaks
- Overall heat transfer efficiency gradually declines
Repair vs. Replacement Decision
When facing condenser coil problems on an older system, you'll need to make a critical decision: repair or replace?
Consider repair if:
- Your system is less than 10 years old
- The rest of the system is in good condition
- Repair costs are less than 50% of replacement cost
- The problem is isolated to easily fixable damage (like bent fins or minor leaks)
Consider replacement if:
- Your system is 15+ years old
- You're facing frequent repairs
- Energy bills have steadily increased despite maintenance
- The coil has extensive corrosion or damage
- Repair costs exceed 50% of a new system's cost
- Your current system uses R-22 refrigerant (being phased out)
The True Cost of Older Systems
While repairing an aging condenser coil might seem cost-effective initially, consider the long-term picture. Older systems operate at significantly lower efficiency than modern units. A new AC system with a 16+ SEER rating could cut your cooling costs by 30-50% compared to a 15-year-old unit with a deteriorating condenser coil.
Warning Signs Your Condenser Coil Has Problems
Knowing what to watch for helps you catch condenser coil problems early, before they cause expensive damage to other system components.
Reduced Cooling Performance
If your AC runs constantly but your home never reaches the desired temperature, your condenser coil may not be releasing heat effectively. This is often the first noticeable symptom of coil problems.
Unusual Sounds
Listen for:
- Hissing: Indicates refrigerant leaks
- Buzzing or humming: May signal electrical issues or a failing condenser fan
- Clanking or banging: Suggests loose components or debris inside the unit
- Screaming: A warning sign of dangerous pressure buildup—shut off your system immediately
Skyrocketing Energy Bills
When your condenser coil can't transfer heat efficiently, your AC runs longer cycles to achieve the same cooling. This shows up as unexplained increases in your electric bill, even when usage patterns haven't changed.
Visible Ice Formation
Ice on your outdoor unit during warm weather is never normal. It typically indicates refrigerant leaks, severe airflow restrictions, or compressor problems—all of which may stem from condenser coil issues.
Warm Air From Vents
If your system blows warm or room-temperature air instead of cold, the condenser coil may not be completing the refrigeration cycle properly.
DIY Maintenance vs. Professional Service
Understanding when you can handle condenser coil maintenance yourself—and when to call a professional—saves money while avoiding costly mistakes.
Safe DIY Tasks
Homeowners can safely:
- Clear debris from around the outdoor unit
- Gently rinse the exterior of the coil with a garden hose (low pressure only)
- Straighten minor fin damage using a fin comb (available at hardware stores)
- Keep vegetation trimmed back from the unit
- Replace air filters regularly
When to Call a Professional
Always hire an HVAC technician for:
- Deep coil cleaning with specialized chemicals
- Refrigerant leak detection and repair
- Electrical component inspection and repair
- Diagnosing mysterious performance issues
- Annual maintenance inspections
- Any work involving refrigerant handling
Attempting complex repairs without proper training and equipment often makes problems worse and can void your warranty.
How to Prevent Condenser Coil Problems
Prevention costs far less than emergency repairs. Implement these strategies to protect your condenser coil and extend your AC system's lifespan.
Create a Maintenance Calendar
Set reminders for:
- Monthly filter changes during cooling season
- Quarterly outdoor unit inspections and cleaning
- Annual professional maintenance visits (schedule in early spring)
- Seasonal debris removal (especially after storms or fall leaf drop)
Invest in Protection
Consider these protective measures:
- Install a condenser coil cover during off-season (remove before operation)
- Use a cage or fence around the unit to prevent accidental damage
- Plant low-growing shrubs instead of trees near the unit
- Position sprinklers to avoid constantly spraying the unit
Monitor System Performance
Keep track of:
- Monthly energy bills (look for unexplained increases)
- How long cooling cycles run
- Whether the system maintains comfortable temperatures
- Any new sounds or smells from the system
Early detection of changes allows you to address small problems before they become expensive emergencies.
The Bottom Line on Condenser Coil Problems
Your condenser coil faces constant threats from dirt, debris, weather, corrosion, and age. Understanding these common causes empowers you to take preventive action and recognize warning signs before minor issues escalate into major failures.
Most condenser coil problems are preventable with regular maintenance and attention. The cost of annual professional service pales in comparison to emergency repairs or premature system replacement. By keeping your condenser coil clean, protected, and well-maintained, you'll enjoy reliable cooling, lower energy bills, and peace of mind throughout the hottest months of the year.
Remember: your outdoor AC unit works hard to keep your home comfortable. Show it some attention, and it will reward you with years of faithful service.
Frequently Asked Questions
How often should condenser coils be cleaned?
Professional deep cleaning should occur annually, ideally before cooling season begins. Homeowners should rinse the exterior monthly during heavy use and clear debris weekly. In dusty environments or near construction, you may need more frequent cleaning to maintain optimal performance.
Can I clean my condenser coil myself?
You can perform basic exterior cleaning with a garden hose (gentle spray only). However, deep cleaning requires specialized coil cleaners and equipment. Improper DIY cleaning can bend fins, damage coatings, or force debris deeper into the coil. For thorough cleaning, hire a professional HVAC technician.
How much does it cost to replace a condenser coil?
Replacement costs typically range from $1,000 to $2,500, depending on your system size, coil type, and labor rates in your area. However, if your system is over 10 years old, replacing the entire outdoor unit often makes more financial sense than replacing just the coil.
What's the difference between condenser coils and evaporator coils?
The condenser coil is located in your outdoor unit and releases heat from your home into the outside air. The evaporator coil sits in your indoor unit and absorbs heat from your home's air. Both are essential for the cooling cycle, but they serve opposite functions in the heat transfer process.
How long do condenser coils typically last?
With proper maintenance, condenser coils typically last 15-20 years. However, lifespan varies based on environmental conditions, maintenance quality, and usage patterns. Coils in harsh environments (coastal areas, industrial zones) may only last 10-12 years, while well-maintained units in mild climates can exceed 20 years.