
What Causes Vibration Problems in Outdoor Units?
What Causes Vibration Problems in Outdoor Units?
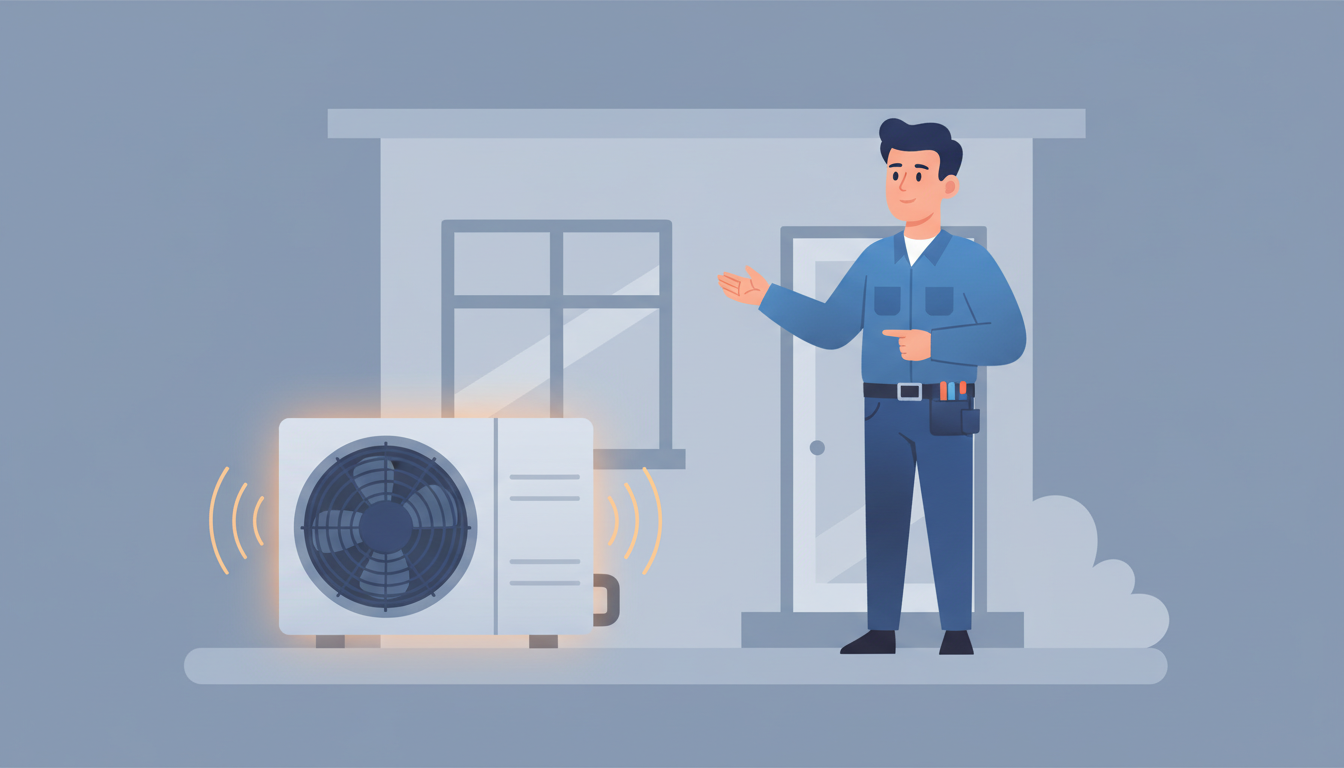
Is your outdoor AC unit shaking, rattling, or vibrating more than usual? You're not alone. Excessive vibration in your outdoor air conditioning unit isn't just annoying—it's often a warning sign that something needs attention. While some minor vibration is normal during operation, excessive shaking can lead to serious damage, higher energy bills, and costly repairs if left unchecked. In this comprehensive guide, we'll walk you through the most common causes of outdoor unit vibration problems, help you assess severity, and show you when DIY fixes work versus when you need professional help.
Understanding Normal vs. Abnormal Vibration
Before you panic about every little shake, it's important to understand that some vibration is completely normal when your AC unit operates. Your outdoor condenser unit contains several moving parts—the fan motor, compressor, and fan blades—all of which create minor vibrations during normal operation.
Normal vibration feels like a gentle hum and slight movement you can barely feel when you place your hand on the unit. You shouldn't hear loud rattling, banging, or grinding noises, and the unit shouldn't visibly shake or move across its concrete pad.
Abnormal vibration includes:
- Visible shaking that you can see from several feet away
- Loud rattling, clanking, or banging sounds
- Vibrations you can feel through your home's floors or walls
- The unit "walking" or shifting position on its pad
- Intermittent severe shaking during startup or shutdown
If you're experiencing any of these abnormal signs, it's time to investigate the cause and take corrective action.
Common Mechanical Causes of AC Vibration
Most vibration problems stem from mechanical issues within the outdoor unit itself. Let's break down the most frequent culprits.
Loose or Damaged Fan Blades
Your outdoor unit's fan blades spin at high speeds to pull air across the condenser coils. Over time, these blades can become:
- Bent or damaged from debris impact (sticks, hail, or flying objects)
- Unbalanced due to dirt buildup on one side
- Loose at the connection point to the motor shaft
When fan blades aren't properly balanced or secured, they wobble during operation, sending vibrations throughout the entire unit. Even a small bend in one blade can create significant shaking at high speeds.
What to look for: Visually inspect the fan blades through the top grille when the unit is OFF. Look for visible bends, cracks, or debris stuck to the blades. Never stick your hands into the unit while it's running.
Worn Motor Bearings and Mounts
The fan motor contains internal bearings that allow the shaft to spin smoothly. After years of operation, these bearings wear down, creating:
- Grinding or squealing noises
- Increased friction and resistance
- Uneven rotation that causes vibration
Similarly, the rubber motor mounts (also called anti-vibration pads or isolators) that cushion the motor gradually deteriorate from heat, weather exposure, and age. When these rubber components crack, harden, or compress, they lose their ability to absorb normal operational vibrations.
Lifespan consideration: Motor bearings typically last 10-15 years with proper maintenance. If your unit is approaching or exceeding this age and vibrating more than before, worn bearings are a likely culprit.
Failing Compressor Components
The compressor is the heart of your AC system, and it contains its own set of mounting springs or rubber isolators designed to minimize vibration. When the compressor itself begins to fail or its mounting system deteriorates, you'll experience:
- Heavy, low-frequency vibrations (feels like a "thudding" sensation)
- Vibrations that worsen over time
- Clicking or chattering sounds from the contactor
Compressor problems are serious and typically require professional diagnosis. A failing compressor often means considering whether to repair or replace the entire unit, depending on age and overall condition.
Loose Bolts and Hardware
This is one of the simplest yet most common causes of vibration. Your outdoor unit contains dozens of bolts, screws, and fasteners that hold various components in place:
- Fan assembly mounting bolts
- Access panel screws
- Condenser coil brackets
- Compressor mounting bolts
- External cabinet fasteners
Normal vibration during operation gradually loosens these connections over months and years. Once even a few bolts work themselves loose, metal components begin rattling against each other, amplifying the vibration problem.
DIY potential: Tightening accessible external bolts and panel screws is something handy homeowners can safely do. However, avoid disassembling the unit or accessing internal components near electrical connections or refrigerant lines. For more information on general HVAC maintenance, check out our complete HVAC repair guide.
Unbalanced Fan Assembly
The entire fan assembly—blades, hub, and motor shaft—needs to be precisely balanced, much like the wheels on your car. This balance can be disrupted by:
- Dirt and debris accumulation on blades (adds weight unevenly)
- A single damaged blade in a multi-blade system
- Corrosion on one section of the blade or hub
- Improper reinstallation after service
An unbalanced fan assembly creates a wobbling effect that increases with speed, often causing the most severe vibration you'll experience from a mechanical issue.
Structural and Installation Issues
Not all vibration problems come from the mechanical components themselves. Sometimes, the issue lies in how or where the unit is installed.
Unlevel or Settling Concrete Pad
Your outdoor AC unit sits on a concrete pad (or sometimes a composite pad) designed to provide a stable, level surface. Over time, several things can happen to this foundation:
- Soil settling: The ground beneath the pad shifts, causing it to tilt
- Erosion: Water runoff gradually washes away supporting soil
- Frost heave: In colder climates, freeze-thaw cycles lift and shift the pad
- Tree roots: Nearby roots grow and push the pad out of level
When the unit operates on an unlevel surface, the rotating components don't spin in a perfectly horizontal plane, creating vibration. Additionally, an unlevel unit puts uneven stress on mounting hardware and can cause refrigerant flow issues.
How to check: Place a carpenter's level on top of the unit (when it's OFF) in multiple directions. If you see more than a slight tilt, the pad may need professional releveling or replacement.
Worn Anti-Vibration Pads
Between the bottom of your AC unit and the concrete pad, there should be rubber anti-vibration pads (sometimes called isolation pads). These thick rubber or composite pads serve two critical functions:
- Absorb vibration to prevent it from transferring to the concrete and into your home
- Prevent metal-on-concrete contact that would create additional noise
After 5-10 years of exposure to:
- Temperature extremes (freezing winters, hot summers)
- UV radiation from sunlight
- The weight of the unit
- Constant vibration
...these pads crack, flatten, or crumble away entirely. Once they're gone, every vibration transfers directly to the concrete, amplifying noise and potentially damaging the unit's base.
Replacement consideration: New anti-vibration pads cost $20-$50 and can dramatically reduce vibration and noise. This is sometimes a DIY project for handy homeowners, but proper installation requires safely lifting the unit (usually a two-person job minimum).
Improper Unit Sizing
When an AC unit is undersized for your home's cooling needs, it runs constantly, working harder than it should. This aggressive, non-stop operation:
- Accelerates wear on all moving parts
- Prevents normal cooling cycles that allow components to rest
- Creates more overall vibration hours per day
- Shortens the system's lifespan significantly
Conversely, an oversized unit short-cycles (turns on and off frequently), and the constant starting and stopping creates repeated stress and vibration during each startup.
Sizing matters: Your AC should be sized based on square footage, insulation, window placement, and climate—not just guesswork. If you suspect sizing issues and experience vibration problems, a load calculation by an HVAC professional can determine if this is a contributing factor.
Environmental and Age-Related Factors
Your outdoor unit faces constant exposure to the elements, and some vibration causes are seasonal or age-related.
Seasonal Damage and Weather Effects
Winter and spring often bring vibration problems that weren't present the previous cooling season:
After winter:
- Ice formation may have bent fan blades
- Snow weight could have stressed mounting hardware
- Moisture infiltration may have corroded bearings
- Small animals might have nested inside, leaving debris
Storm damage:
- Hail can dent fan blades and panels
- High winds may have blown debris into the unit
- Heavy rain can wash away supporting soil under the pad
Temperature effects:
- Extreme heat causes metal expansion
- Freezing temperatures cause contraction
- These cycles can loosen connections over time
If your AC vibrates when you first turn it on in spring but was fine last fall, suspect seasonal damage. Always perform a visual inspection after severe weather or before the first use of the season.
Normal Wear from System Age
Even with perfect maintenance, AC components have finite lifespans. As your system ages, vibration naturally increases due to:
- Cumulative bearing wear (10-15 years typical lifespan)
- Rubber components hardening and losing elasticity (5-10 years)
- Metal fatigue from millions of operational cycles
- Gradual loosening of factory-torqued connections
Repair vs. replacement decision: If your unit is 10+ years old, vibrating significantly, and requiring frequent repairs, replacement often makes more financial sense than continually fixing aging components. A new, properly installed unit will operate smoothly for another 12-15 years with proper maintenance. For specific guidance on central AC systems, see our central AC repair guide.
Debris and Maintenance-Related Causes
Sometimes vibration problems stem from simple neglect of routine maintenance tasks.
Clogged Condenser Coils
The aluminum fins and coils surrounding your outdoor unit can become clogged with:
- Cottonwood seeds or tree debris
- Grass clippings from lawn mowing
- Dust and pollen buildup
- Leaves and organic matter
When airflow is restricted, the unit works harder, the fan motor strains, and temperatures increase inside the cabinet. This extra stress can cause or worsen vibration issues, particularly if the motor is already marginal.
Dirt Accumulation on Fan Blades
Even a quarter-inch of dirt, pollen, or grime on your fan blades creates an imbalance. Think of it like an unbalanced washing machine load—weight distributed unevenly creates significant vibration.
Simple fix: With the power OFF at the breaker, gently clean fan blades with a damp cloth. Don't use high-pressure water, which can bend the blades or force water into electrical components.
Blocked Air Flow
Vegetation growing too close to your outdoor unit restricts airflow, causing:
- Higher operating temperatures
- Increased strain on the motor
- Potential for debris to be drawn into the unit
Maintain at least 2-3 feet of clearance around all sides of your outdoor unit. Trim back bushes, remove weeds, and keep the area clear of stored items.
How to Assess Vibration Severity
Not all vibration requires immediate emergency service. Here's how to prioritize:
Minor (monitor but not urgent):
- Slight vibration you can feel only when touching the unit
- No unusual noises
- No visible movement of the unit
- Started gradually over time
Moderate (schedule service soon):
- Vibration visible from a few feet away
- Some rattling sounds but system still cools effectively
- Minor looseness of access panels
- Vibration has worsened noticeably over weeks
Severe (shut down and call for service):
- Loud banging, clanking, or grinding noises
- Unit visibly shaking or "walking" across the pad
- Smoke, burning smell, or electrical odors
- Sudden onset of severe vibration
- Unit struggling to cool despite running
If you're experiencing severe symptoms, turn off the system at the thermostat AND the breaker to prevent further damage while waiting for professional service.
DIY Inspection Checklist
Before calling for service, here's what you can safely check yourself:
Safety first:
- Turn OFF power at the breaker
- Never open panels or access internal components
- Don't touch electrical connections or refrigerant lines
Visual inspection (with power OFF):
- Check for visible damage to fan blades
- Look for loose or missing panel screws
- Verify the unit sits level on its pad
- Clear away debris, leaves, or vegetation within 3 feet
- Inspect the concrete pad for cracks or settling
- Look underneath (if possible) for deteriorated rubber pads
- Check for rust or corrosion on external components
With power ON (but don't touch the unit):
- Listen for specific sounds (rattling, grinding, clicking)
- Note when vibration occurs (constant, startup only, intermittent)
- Observe if the unit visibly moves or shakes
What you can DIY:
- Clean accessible external surfaces
- Tighten visible external panel screws
- Clear vegetation and debris
- Straighten bent fins (carefully, with a fin comb)
When to stop and call a professional:
- Anything requiring panel removal
- Internal component access
- Electrical work
- Refrigerant system involvement
- Compressor issues
- Motor or bearing replacement
For additional troubleshooting on related noise issues, our guide on what causes squealing noises in air handlers covers similar diagnostic approaches for indoor components.
Professional Diagnosis and Repair
When you call an HVAC technician for vibration issues, here's what to expect:
Diagnostic process:
- Visual and audible inspection while running
- Electrical measurements (voltage, amperage)
- Temperature readings across components
- Vibration analysis with specialized tools
- Checking refrigerant pressures
- Examining all mounting hardware
Common repairs and typical costs:
- Tightening hardware and balancing fan: $100-$200
- Replacing fan motor bearings: $200-$400
- New fan blade assembly: $150-$300
- Motor replacement: $300-$600
- Anti-vibration pad replacement: $100-$250
- Compressor mounts/isolators: $150-$350
- Pad releveling: $200-$500
- Complete compressor replacement: $1,500-$3,000+
Note: Costs vary by region, unit size, and accessibility. These are general estimates for common residential repairs.
Why professional repair matters:
- Proper diagnosis prevents throwing money at the wrong problem
- Warranty protection (DIY repairs often void coverage)
- Safety around high-voltage electrical and pressurized refrigerant
- Access to specialized tools and replacement parts
- Code-compliant repairs
Preventing Future Vibration Problems
Prevention is always cheaper than repair. Follow this maintenance schedule:
Monthly (during cooling season):
- Check and replace/clean air filters
- Visual inspection for debris around outdoor unit
- Listen for unusual sounds during operation
Quarterly:
- Clear vegetation and maintain 2-3 feet clearance
- Check that unit remains level on pad
- Inspect accessible hardware for tightness
Annually (professional maintenance):
- Complete system inspection
- Coil cleaning (indoor and outdoor)
- Electrical connection tightening
- Refrigerant level check
- Lubrication of applicable components
- Condensate drain cleaning
- Thermostat calibration
Best practices:
- Run your system moderately (set thermostat to 78°F when home)
- Don't completely shut down during mild weather (occasional operation prevents bearing corrosion)
- Address minor issues promptly before they become major problems
- Keep records of maintenance and repairs
- Consider a maintenance contract for automatic seasonal service
Lifespan considerations: With proper maintenance, expect:
- Fan motors: 10-15 years
- Compressors: 12-15 years
- Anti-vibration pads: 5-10 years
- Overall system: 12-15 years (up to 20 with excellent care)
Frequently Asked Questions
Q: Is some vibration normal in my outdoor AC unit?
Yes, minor vibration is completely normal. All outdoor units vibrate slightly due to the fan motor, spinning fan blades, and compressor operation. You should feel only a gentle hum and minimal movement. If you can see the unit shaking from several feet away or hear loud rattling, that's abnormal and needs attention.
Q: Can I fix AC vibration myself or do I need a professional?
You can safely handle simple tasks like tightening visible external screws, cleaning debris, and clearing vegetation. However, call a professional for anything involving panel removal, electrical components, refrigerant lines, or internal mechanical parts. DIY repairs on these components risk injury, system damage, and voiding your warranty.
Q: How much does it typically cost to fix a vibrating AC unit?
Simple repairs like tightening hardware or balancing the fan typically cost $100-$200. Motor or bearing replacement runs $300-$600. Major issues like compressor replacement can cost $1,500-$3,000 or more. The best approach is to get a professional diagnosis first rather than guessing at the problem.
Q: Will ignoring vibration damage my AC?
Yes, absolutely. Unchecked vibration accelerates wear on all components, can crack refrigerant lines, damage electrical connections, and turn minor issues into major failures. A $150 repair now can prevent a $2,000+ system replacement later. Address vibration problems promptly.
Q: My AC only vibrates when starting up or shutting down—is that normal?
Brief vibration during startup and shutdown is relatively normal as the compressor and fan motor engage or disengage. However, if this vibration is severe, loud, or getting worse over time, it may indicate failing motor mounts, a struggling compressor, or electrical issues with the contactor or capacitor.
Q: Does warranty cover vibration repairs?
It depends on the cause and your specific warranty terms. Most manufacturer warranties cover defects in components like motors or compressors but not damage from poor maintenance, neglect, or normal wear. Labor warranties vary widely. Installation issues are typically covered by your installer's workmanship warranty, not the manufacturer.
Take Action on Vibration Problems Today
Vibration in your outdoor AC unit is your system's way of telling you something needs attention. Whether it's a simple fix like tightening a few bolts or a more serious issue requiring professional repair, addressing the problem promptly will save you money, extend your system's lifespan, and keep your home comfortably cool.
Start with the simple DIY inspection checklist above, but don't hesitate to call a qualified HVAC technician if you're uncertain about the severity or cause of the vibration. Your air conditioning system is a significant investment—protecting it with proper maintenance and timely repairs makes sound financial sense.
Remember: Minor vibrations caught early usually mean simple, inexpensive fixes. Major vibrations ignored for months often lead to complete system failure and expensive emergency replacements. Listen to your AC, and act on what it's telling you.