
Why Is My Mini-Split Not Cooling? Troubleshooting Guide & Solutions
Why Is My Mini-Split Not Cooling? Troubleshooting Guide & Solutions
Is your mini-split blowing warm air when you need it most? You're not alone. A mini-split not cooling is one of the most frustrating HVAC problems homeowners face, especially during hot summer months. The good news is that many cooling issues have simple fixes you can try yourself before calling a professional.
In this comprehensive guide, we'll walk you through exactly why your mini-split might not be cooling properly and what you can do about it. From quick DIY fixes to knowing when it's time to call an HVAC technician, we've got you covered.
Understanding How Your Mini-Split Should Work
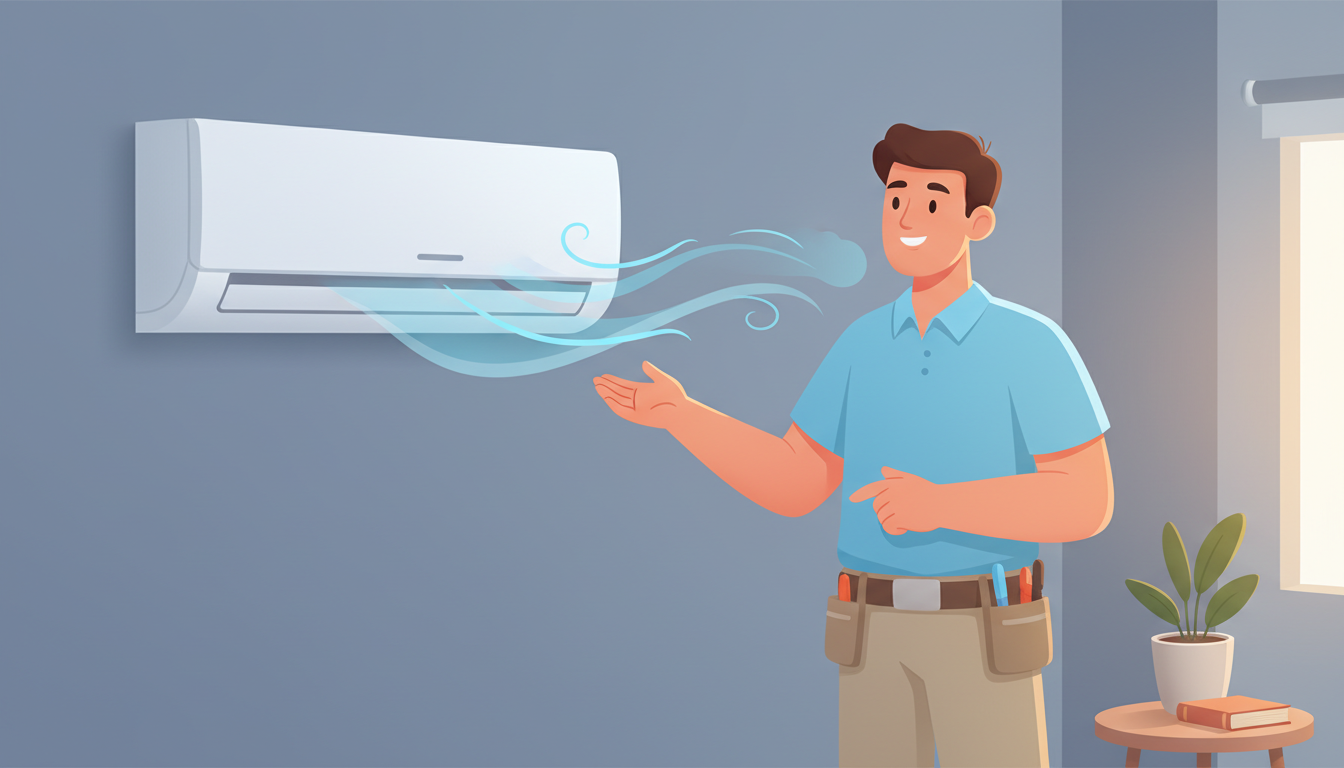
Before we dive into troubleshooting, it helps to understand how a ductless mini-split system cools your home. Your system has two main parts: an indoor air handler and an outdoor condenser unit.
The outdoor unit compresses refrigerant and sends it to the indoor unit. The indoor evaporator coil absorbs heat from your room and transfers it outside. A fan in the air handler blows cool air into your space while removing warm air.
When any part of this process breaks down, your mini-split won't cool effectively. Let's identify what's going wrong with your system.
Quick Checks: Start Here First
Is Your Remote Control Set Correctly?
Before you panic, check your remote control settings. It sounds obvious, but incorrect settings cause many "broken" mini-split calls.
What to check:
- Make sure the system is in "Cool" mode, not "Fan," "Dry," or "Heat"
- Set the temperature at least 3-5 degrees below the current room temperature
- Replace the remote batteries if the display looks dim
- Check that the remote is pointing directly at the indoor unit
If your mini-split is in fan mode, it will circulate air without cooling. This is an easy mistake that can waste hours of troubleshooting time.
Check the Power Supply
Your mini-split not working could be as simple as a power issue.
Steps to verify power:
- Check if the circuit breaker has tripped at your electrical panel
- Look for a power switch near the indoor unit that might be off
- Verify the outdoor unit is receiving power (listen for the compressor running)
- Make sure the unit's display lights are on
If you find a tripped breaker, don't just reset it. Breakers trip for a reason, often indicating an electrical problem that needs professional attention. One reset is fine, but if it trips again, call an HVAC technician.
Common Reasons Your Mini-Split Is Not Cooling
Dirty or Clogged Air Filters
This is the #1 cause of mini-split cooling problems. When filters get clogged with dust, dirt, and debris, airflow gets restricted. Your system has to work harder but cools less effectively.
Signs your filters need cleaning:
- Weak airflow from the vents
- The indoor unit feels warm to the touch
- Unusual odors when the system runs
- Higher energy bills than normal
- Ice forming on the indoor unit
How to clean mini-split filters:
- Turn off the unit completely
- Open the front panel of the indoor unit
- Slide out the filters (usually located behind the front cover)
- Vacuum loose dust and debris
- Wash filters with warm water and mild soap
- Let filters dry completely before reinstalling
- Clean filters every 2-4 weeks during heavy use
Dirty filters don't just reduce cooling—they can cause water leakage, mold growth, and eventually damage your system. Regular filter maintenance is the easiest way to keep your mini-split running efficiently.
For more comprehensive guidance on maintaining your system, check out our mini-split repair guide.
Blocked Airflow Around the Units
Your mini-split needs good airflow around both the indoor and outdoor units to work properly.
Indoor unit blockages:
- Furniture placed directly in front of vents
- Curtains or blinds blocking the air handler
- Dust buildup on the vents and louvers
- Closed doors preventing air circulation
Outdoor unit blockages:
- Leaves, grass clippings, or debris stuck in the condenser
- Overgrown plants or shrubs too close to the unit
- Snow or ice accumulation in winter
- Dirt and grime on the condenser coils
Keep at least 2 feet of clear space around your outdoor condenser. Trim back any vegetation that's grown too close. A dirty outdoor coil works harder and cools less, driving up your energy costs.
Low Refrigerant Levels
If your mini-split is not cooling even with clean filters and good airflow, low refrigerant is likely the culprit. Mini-splits don't "use up" refrigerant—if levels are low, you have a leak somewhere.
Signs of low refrigerant:
- Mini-split blowing warm air instead of cold
- Ice or frost buildup on the refrigerant lines or indoor coil
- Hissing or bubbling sounds near the units
- The outdoor unit runs constantly but no cooling happens
- A sweet, slightly vinegar-like smell near the units
What causes refrigerant leaks:
- Wear and tear on refrigerant lines over time
- Poor installation with loose connections
- Corrosion from weather exposure
- Physical damage to the copper lines
Refrigerant leaks require professional repair. An HVAC technician will locate the leak, fix it, and recharge your system to the proper levels. Never attempt to add refrigerant yourself—it requires special equipment and certification.
If you're experiencing this issue, our guide on mini-split blowing warm air in cool mode offers additional troubleshooting steps.
Frozen Evaporator Coil
A frozen evaporator coil inside your indoor unit will definitely prevent cooling. Ice blocks airflow and stops heat absorption.
What causes coil freezing:
- Dirty air filters restricting airflow
- Low refrigerant levels
- Blocked air vents or return air
- Running the system when it's too cold outside
- Malfunctioning blower fan
How to address a frozen coil:
- Turn off your mini-split immediately
- Let the ice melt completely (this can take several hours)
- Clean or replace your air filters
- Check for any airflow obstructions
- Turn the system back on and monitor it
If the coil freezes again, you likely have low refrigerant or a mechanical problem that needs professional diagnosis.
Thermostat and Sensor Issues
Your mini-split's temperature sensor tells the system when to cool and when to stop. If the sensor malfunctions, your unit might shut off before adequately cooling your space.
Thermostat problems to check:
- Sensor positioned incorrectly or knocked loose
- Sensor covered by dust or debris
- Temperature set too close to current room temperature
- Faulty sensor sending wrong readings to the control board
Try setting your temperature more gradually. Instead of jumping from 78°F to 68°F, reduce it a few degrees at a time. Setting the temperature too far below the current room temperature can cause inefficient cycling and higher energy use.
If you suspect a sensor problem, this requires professional calibration or replacement.
Dirty Condenser Coils
Your outdoor condenser unit works hard, and over time the coils get covered in dirt, pollen, and grime. Dirty condenser coils can't release heat effectively, which means your mini-split won't cool properly.
How to clean outdoor condenser coils:
- Turn off power to the outdoor unit
- Remove any debris from around the unit
- Gently spray the coils with a garden hose (low pressure)
- Spray from inside out to push dirt outward
- Avoid using a pressure washer—it can damage the delicate fins
- Let the unit dry before restoring power
For stubborn buildup, consider professional coil cleaning as part of your annual maintenance.
Undersized System or Improper Installation
Sometimes a mini-split not cooling enough points to an installation issue rather than a malfunction.
Installation problems that reduce cooling:
- System BTU rating too small for the space
- Indoor unit placed in the wrong location
- Refrigerant lines too long or improperly insulated
- Outdoor unit in direct sunlight all day
- Incorrect refrigerant charge during installation
If your system has never cooled well since installation, improper sizing or setup might be the issue. A professional load calculation can determine if your mini-split has adequate cooling capacity for your space.
Compressor or Component Failure
The compressor is the heart of your mini-split system. When it fails, cooling stops completely.
Signs of compressor problems:
- Loud grinding, clicking, or banging noises
- The outdoor unit doesn't turn on at all
- Circuit breaker trips repeatedly
- The unit runs but produces no cooling whatsoever
Compressor failure usually happens in older systems (10+ years) or units that haven't received regular maintenance. Compressor replacement is expensive—often $1,000-$2,500—so it's worth evaluating whether replacement of the entire system makes more financial sense.
Extreme Weather and Seasonal Issues
Mini-splits can struggle during extreme heat. When outdoor temperatures exceed 100°F, even a properly functioning system may not cool as effectively.
Hot weather challenges:
- Compressor works harder in extreme heat
- Cooling capacity decreases as temperature differential increases
- Direct sun on outdoor unit reduces efficiency
- System may need longer run times to maintain set temperature
If your mini-split struggles only during heat waves but works fine otherwise, it might be operating at its limit. Providing shade for the outdoor unit or upgrading to a higher-capacity system can help.
When to Call a Professional HVAC Technician
Some mini-split problems require professional expertise and specialized tools. Don't attempt these repairs yourself:
Call a professional for:
- Refrigerant leaks and recharging
- Electrical problems and wiring issues
- Compressor or motor replacement
- Sensor calibration and replacement
- Strange noises from the compressor
- Repeated circuit breaker trips
- Water leaking from the indoor unit (after checking drain line)
- Any repair involving refrigerant lines
What to expect during a professional service call:
A qualified HVAC technician will perform a thorough diagnostic including:
- Checking refrigerant levels and pressure
- Testing electrical connections and components
- Inspecting both indoor and outdoor units
- Cleaning coils and checking airflow
- Verifying proper thermostat operation
- Identifying any safety issues
Professional mini-split maintenance typically costs $125-$400 depending on your location and the service needed. Annual maintenance is much cheaper than emergency repairs.
For general HVAC system guidance, visit our comprehensive HVAC repair guide.
Preventative Maintenance: Keep Your Mini-Split Cooling Efficiently
The best way to avoid mini-split cooling problems is regular preventative maintenance.
Monthly tasks:
- Clean or replace air filters
- Wipe down the indoor unit exterior
- Check for any unusual noises or smells
- Verify proper airflow from vents
Seasonal tasks (every 3-6 months):
- Clean outdoor condenser coils
- Trim vegetation around outdoor unit
- Check refrigerant line insulation for damage
- Inspect drain line for clogs
- Test all modes (cooling, heating, fan)
Annual professional maintenance:
- Complete system inspection
- Refrigerant level check
- Electrical connection testing
- Deep cleaning of all components
- Performance optimization
Systems that receive regular maintenance last longer, cool more efficiently, and have fewer breakdowns. Schedule professional service annually for cooling-only systems, or twice yearly if you also use heat mode.
Cost Considerations: Repair vs. Replace
When your mini-split isn't cooling, you'll face a decision: repair or replace?
Factors favoring repair:
- System is less than 8 years old
- Repair cost is less than 50% of replacement cost
- Only one component needs fixing
- System has been well-maintained
Factors favoring replacement:
- System is 12+ years old
- Multiple components are failing
- Repair costs exceed $1,500-$2,000
- Energy bills have increased significantly
- System has needed frequent repairs
Modern mini-splits are more efficient than older models. If your system is over 10 years old and needs major repairs, replacement might save you money in the long run through lower energy costs.
DIY Safety Precautions
If you're troubleshooting your mini-split yourself, keep these safety tips in mind:
Safety guidelines:
- Always turn off power before cleaning or inspecting
- Never touch electrical components with wet hands
- Don't attempt to add refrigerant yourself
- Avoid using sharp objects near coils or fins
- Don't run the system with panels removed
- Call a professional if you're uncomfortable with any step
Emergency Cooling Alternatives
While waiting for repairs, you'll need to stay cool:
Temporary cooling options:
- Use portable fans to improve air circulation
- Close blinds and curtains during the hottest part of the day
- Use portable AC units in essential rooms
- Spend time in cooler parts of your home
- Stay hydrated and limit heat-generating activities
Frequently Asked Questions
How long should a mini-split last?
With proper maintenance, a quality mini-split should last 15-20 years. However, most systems start experiencing more frequent issues after 10-12 years. Regular professional maintenance significantly extends system life.
Can I run my mini-split if it's not cooling properly?
Running a malfunctioning mini-split can cause additional damage, especially if the problem is low refrigerant or a frozen coil. Turn it off and address the issue to avoid expensive repairs.
Why is my mini-split not cooling but the fan is running?
If the fan runs but there's no cooling, the most likely causes are low refrigerant, a failed compressor, or incorrect mode settings. Check your thermostat settings first, then call a professional if the problem persists.
How much does it cost to fix a mini-split that's not cooling?
Simple fixes like filter cleaning are free. Professional service calls typically run $125-$400. Major repairs like compressor replacement can cost $1,000-$2,500. Get multiple quotes for expensive repairs.
Should I clean my mini-split myself or hire a professional?
Basic maintenance like filter cleaning and exterior wiping is safe to do yourself. Deep cleaning of coils and internal components is best left to professionals who have the right tools and training.
Take Action: Get Your Mini-Split Cooling Again
A mini-split not cooling doesn't have to mean expensive repairs or uncomfortable days. Start with the simple solutions—check your settings, clean your filters, and verify good airflow. These basic steps solve the majority of cooling problems.
If basic troubleshooting doesn't restore cooling, don't delay calling an HVAC professional. The longer you wait, the more damage can occur, potentially turning a simple repair into a costly replacement.
Regular maintenance is your best defense against cooling problems. Clean filters monthly, schedule annual professional service, and address small issues before they become big problems. Your mini-split will reward you with years of reliable, efficient cooling.
Ready to get your system back to peak performance? Start with the quick checks we covered, and you'll likely have cool air flowing again in no time.