
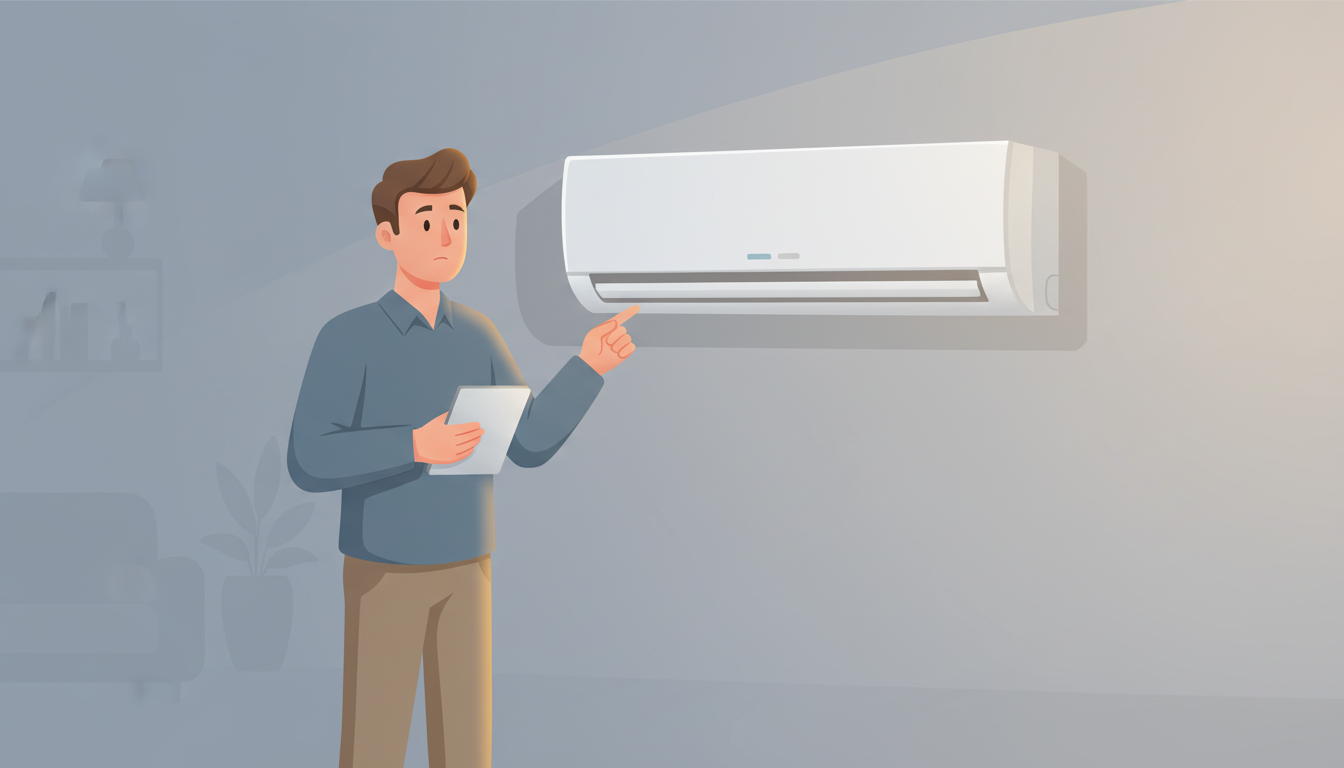
Why Is My Mini-Split Not Heating? Complete Troubleshooting Guide
Why Is My Mini-Split Not Heating? Complete Troubleshooting Guide
When winter arrives and you discover your mini split not heating properly, it can quickly turn from a minor inconvenience into a major problem. Whether your ductless heat pump is blowing cold air in heat mode or not turning on at all, you need answers fast.
The good news? Many mini split heating problems have simple fixes you can handle yourself. In this comprehensive troubleshooting guide, we'll walk you through the most common reasons your mini split heat mode not working and show you exactly how to fix them.
Understanding How Your Mini-Split Heat Pump Works
Before diving into troubleshooting, it's helpful to understand the basics. Your mini-split system works as a heat pump, which means it doesn't generate heat—it transfers it. In heating mode, the outdoor unit pulls heat from the outside air and moves it inside, even when it's cold outside.
This reverse-cycle operation is controlled by a component called the reversing valve, which switches your system between cooling and heating modes. When something goes wrong with this process, your mini split won't heat your home properly.
Quick Checklist: Start Here First
Before you panic or call a professional, run through these basic checks:
- Is the system switched to heat mode?
- Is your thermostat set above the current room temperature?
- Are the circuit breakers on?
- Is the outdoor unit clear of snow, ice, or debris?
- When did you last clean the air filters?
If you answered "no" or "I'm not sure" to any of these, you've likely found your problem. Let's explore each issue in detail.
1. Incorrect Thermostat or Remote Settings
The Problem: This is the most common culprit when your mini split not heating. Your system might be in the wrong mode, or the temperature setting might be too low.
How to Check:
- Look at your remote control or wall thermostat display
- Verify the mode is set to "Heat" (often shown as a sun icon)
- Ensure the set temperature is at least 3-5 degrees higher than the current room temperature
- Check if a timer is set that's preventing operation
The Fix: Switch your system to heat mode using the remote or wall control. Press the mode button until you see the heat indicator. Set your desired temperature and wait 5-10 minutes for the system to respond.
If your remote isn't working, replace the batteries first. Some systems have backup controls on the indoor unit itself.
2. Dirty or Clogged Air Filters
The Problem: When air filters get clogged with dust, pet hair, and debris, airflow becomes restricted. This forces your mini split to work harder while delivering less heat, and it can even cause the system to shut down as a safety measure.
How to Check: Open the front panel of your indoor unit and look at the filters. If they appear gray or have visible dust buildup, they need cleaning.
The Fix: Cleaning your mini-split air filters takes just 10 minutes:
- Turn off the power to your unit
- Open the front panel (it usually lifts up and clicks into place)
- Gently remove the mesh filters
- Vacuum off loose dust and debris
- Wash the filters with warm, soapy water
- Rinse thoroughly and let them air dry completely
- Reinstall the dry filters and close the panel
Do this monthly during heavy use periods for optimal performance. This simple maintenance task can resolve many heating issues and is covered in our comprehensive HVAC repair guide.
3. Outdoor Unit Obstructions
The Problem: Your outdoor condenser unit needs proper airflow to extract heat from the outside air. Snow drifts, ice buildup, leaves, or nearby shrubs can block airflow and prevent proper heating.
How to Check: Go outside and visually inspect your outdoor unit. Look for:
- Snow or ice covering the unit
- Leaves or debris inside the unit
- Plants or shrubs within 2 feet of the unit
- Ice on the coils or fan
The Fix:
- Clear away snow from around and on top of the unit
- Remove any leaves, twigs, or debris
- Trim back vegetation to maintain at least 2 feet of clearance
- Gently brush off ice (don't chip at it aggressively, as this can damage the coils)
Never use sharp objects or excessive force when removing ice. If the outdoor unit is completely frozen, your system may be in defrost mode (we'll cover this next).
4. Normal Defrost Cycle Operation
The Problem: This isn't actually a problem—it's normal operation! During cold weather, your mini-split periodically switches to defrost mode to melt ice that forms on the outdoor coils. During this time, your system stops producing heat.
How to Identify:
- Your outdoor unit is steaming or has visible ice melting
- The indoor unit is blowing room-temperature or slightly cool air
- This happens periodically, especially in temperatures below 35°F (2°C)
- The issue resolves itself after 5-15 minutes
What to Do: Simply wait. Defrost cycles are necessary and automatic. Your mini split should return to normal heating within 15 minutes. If defrost cycles are happening constantly (every 30 minutes or more frequently), this could indicate low refrigerant or a sensor problem—call a professional.
5. Low Refrigerant Levels
The Problem: Refrigerant is the lifeblood of your heat pump system. Without proper refrigerant levels, your mini split can't transfer heat effectively. Low refrigerant usually means there's a leak somewhere in the system.
How to Identify:
- Your mini split is blowing cold air in heat mode
- Ice forms on the indoor unit's coils
- The outdoor unit isn't running or cycles on and off rapidly
- You hear a hissing sound (indicating an active leak)
- Your energy bills have increased without explanation
The Fix: This requires a professional HVAC technician. Refrigerant handling requires EPA certification and specialized equipment. A technician will:
- Locate and repair the leak
- Evacuate the old refrigerant
- Recharge the system to manufacturer specifications
- Test for proper operation
Never attempt to add refrigerant yourself. Improper levels can damage your compressor, leading to expensive repairs.
6. Frozen Evaporator Coil
The Problem: When the indoor evaporator coil freezes, it can't absorb heat properly. This often results from restricted airflow (dirty filters) or low refrigerant, but can also happen in very humid conditions.
How to Identify:
- Ice visible on the indoor unit when you open the panel
- Water dripping from the indoor unit
- Reduced or no heat output
- The system runs but doesn't warm the room
The Fix:
Immediate steps:
- Turn off your mini-split system
- Switch the fan to "on" mode (if available) to help thaw the coil
- Wait 2-4 hours for the ice to melt completely
- Place towels under the unit to catch dripping water
Prevent recurrence:
- Clean your air filters (see section 2)
- Ensure all supply vents are open and unobstructed
- If it happens again, call a technician to check refrigerant levels
7. Reversing Valve Failure
The Problem: The reversing valve is what allows your mini-split to switch between heating and cooling. If it fails or gets stuck, your system might blow cold air even when set to heat mode.
How to Identify:
- Your system worked fine for cooling but won't heat
- You hear clicking sounds when switching modes but nothing changes
- The outdoor unit runs but no heat is produced
- The issue started suddenly rather than gradually
The Fix: This is another job for professionals. A stuck reversing valve sometimes can be freed by switching modes repeatedly, but a failed valve needs replacement. An HVAC technician will diagnose the exact issue and either clean or replace the valve.
Cost estimate: Reversing valve replacement typically runs $300-$600 including parts and labor.
8. Electrical Issues and Power Problems
The Problem: Mini-splits require stable power to both the indoor and outdoor units. Tripped breakers, blown fuses, or loose wiring can prevent your system from heating.
How to Check:
- Locate your electrical panel and check if any breakers have tripped
- Look for the dedicated breakers for your mini-split (there may be two—one for the outdoor unit, one for the indoor)
- Check the disconnect switch near the outdoor unit
The Fix:
For tripped breakers:
- Switch the breaker completely off, then back on
- Wait a few minutes and try your system again
- If it trips again immediately, there's likely a short circuit—call an electrician
For the disconnect switch:
- Ensure it's in the "on" position
- If it was accidentally switched off, turn it back on
Important Safety Note: If you smell burning, see sparking, or notice frequent breaker trips, don't attempt further troubleshooting. Turn off power at the breaker and call a professional immediately.
9. Malfunctioning Temperature Sensors
The Problem: Mini-splits use sensors to monitor room temperature and adjust output accordingly. A faulty sensor might think the room is warmer than it actually is, preventing the system from heating properly.
How to Identify:
- Your mini split runs briefly then shuts off
- The displayed temperature doesn't match an independent thermometer
- The system seems to cycle erratically
- Heat output is inconsistent
The Fix: First, try resetting your system:
- Turn off the unit using the remote
- Turn off the circuit breaker for 5 minutes
- Turn the breaker back on
- Wait 5 minutes before turning the unit back on
If this doesn't resolve the issue, the sensor may need professional recalibration or replacement. For more detailed guidance on mini-split troubleshooting, check out our mini-split repair guide.
10. Cold Weather Performance Limitations
The Problem: All heat pumps have performance limits in extreme cold. Most standard mini-splits become less efficient below 25°F (-4°C), and many won't operate at all below 5°F (-15°C).
How to Identify:
- Your system worked fine last week but stopped during a cold snap
- Outdoor temperatures are below 20°F (-7°C)
- The system runs but barely warms the room
- This is your first winter with the system
The Fix:
For temporary cold weather heating:
- Lower your temperature expectations (aim for 65-68°F instead of 72°F)
- Use supplemental heating (space heaters in critical rooms)
- Ensure good insulation and seal drafts to retain whatever heat is produced
For long-term solutions:
- Consider upgrading to a cold-climate mini-split (rated for operation down to -13°F or lower)
- Install a backup heating system
- Improve home insulation to reduce heating demand
If you're experiencing issues where your mini split is blowing cool air even in moderate temperatures, our article on mini-split blowing cool air in heat mode provides additional troubleshooting steps.
When to Call a Professional HVAC Technician
While many mini split heating problems can be fixed with basic troubleshooting, some issues require professional expertise:
Call immediately if:
- You smell burning or see smoke
- Water is actively leaking from the unit
- You hear loud grinding, squealing, or metal-on-metal sounds
- The circuit breaker trips repeatedly
- You suspect a refrigerant leak (hissing sounds, ice on lines)
Schedule service soon if:
- Basic troubleshooting hasn't resolved the issue after 24 hours
- Your system is more than 10 years old and problems are increasing
- Energy bills have spiked without explanation
- The system short-cycles (turns on and off every few minutes)
Preventive Maintenance to Avoid Heating Problems
An ounce of prevention is worth a pound of cure. Follow this maintenance schedule to keep your mini-split heating reliably:
Monthly:
- Clean or replace air filters
- Check that outdoor unit has clearance
- Wipe down indoor unit exterior
Quarterly:
- Inspect outdoor unit for damage or debris
- Test heating and cooling modes
- Check for unusual noises or odors
Annually:
- Schedule professional maintenance before winter
- Have refrigerant levels checked
- Get electrical connections inspected
- Clean outdoor coils professionally
- Test defrost cycle operation
Professional annual maintenance typically costs $100-$200 but can prevent repairs costing thousands.
How Much Do Mini-Split Heating Repairs Cost?
Understanding potential costs helps you budget and decide between repair and replacement:
- Filter cleaning: DIY - $0
- Thermostat replacement: $100-$300
- Refrigerant recharge and leak repair: $300-$1,500
- Reversing valve replacement: $300-$600
- Compressor replacement: $1,200-$2,500
- Full system replacement: $3,000-$7,000
When to repair vs. replace:
- If repair costs exceed 50% of replacement cost and your system is over 10 years old, replacement is often more cost-effective
- If your system is under 5 years old, repair is usually the better choice
- Factor in improved energy efficiency of newer models when deciding
FAQ: Common Mini-Split Heating Questions
Why is my mini split not heating but the fan is running?
This usually indicates the system is receiving power but isn't in heat mode, has low refrigerant, or the reversing valve isn't functioning. Check your mode settings first, then call a technician if the problem persists.
How long should a mini-split defrost cycle last?
Normal defrost cycles run 5-15 minutes. If your system is in defrost mode for longer than 20 minutes or cycles into defrost mode every 30 minutes or more frequently, there may be an underlying problem with refrigerant levels or sensors.
Can I run my mini-split in heat mode during extreme cold?
Most standard mini-splits lose significant efficiency below 25°F and may not operate below 5°F. Cold-climate models are designed to work in temperatures down to -13°F or lower. Check your owner's manual for your specific model's operating range.
Why does my mini split blow cold air in heat mode at night?
This could be caused by your system entering defrost mode, incorrect temperature programming, or the outdoor temperature dropping below your unit's operational threshold. If it happens consistently, have a technician check the defrost control and temperature sensors.
How often should I clean my mini-split filters?
During heavy use (daily heating or cooling), clean filters monthly. During light use, quarterly cleaning is sufficient. Homes with pets, smokers, or high dust levels may need weekly cleaning.
Conclusion: Keep Your Home Warm and Comfortable
A mini split not heating doesn't always mean an expensive repair. By working through this troubleshooting guide systematically—starting with simple fixes like checking settings and cleaning filters, then moving to more complex issues—you can often identify and resolve the problem yourself.
Remember these key points:
- Start with the basics: settings, filters, and power
- Regular maintenance prevents most heating problems
- Some issues (refrigerant, electrical, valve problems) require professional service
- Know your system's cold-weather limitations
- When in doubt, call a qualified HVAC technician
Don't let a malfunctioning mini-split leave you in the cold this winter. Use this guide to troubleshoot the issue, and you'll be back to enjoying comfortable, energy-efficient heat in no time.
Need professional help? If you've tried these troubleshooting steps and your mini split still isn't heating properly, it's time to call in the experts. A qualified HVAC technician can diagnose complex issues, safely handle refrigerant, and ensure your system is running efficiently for years to come.